Showing posts with label Twine. Show all posts

Tuesday, September 2, 2014

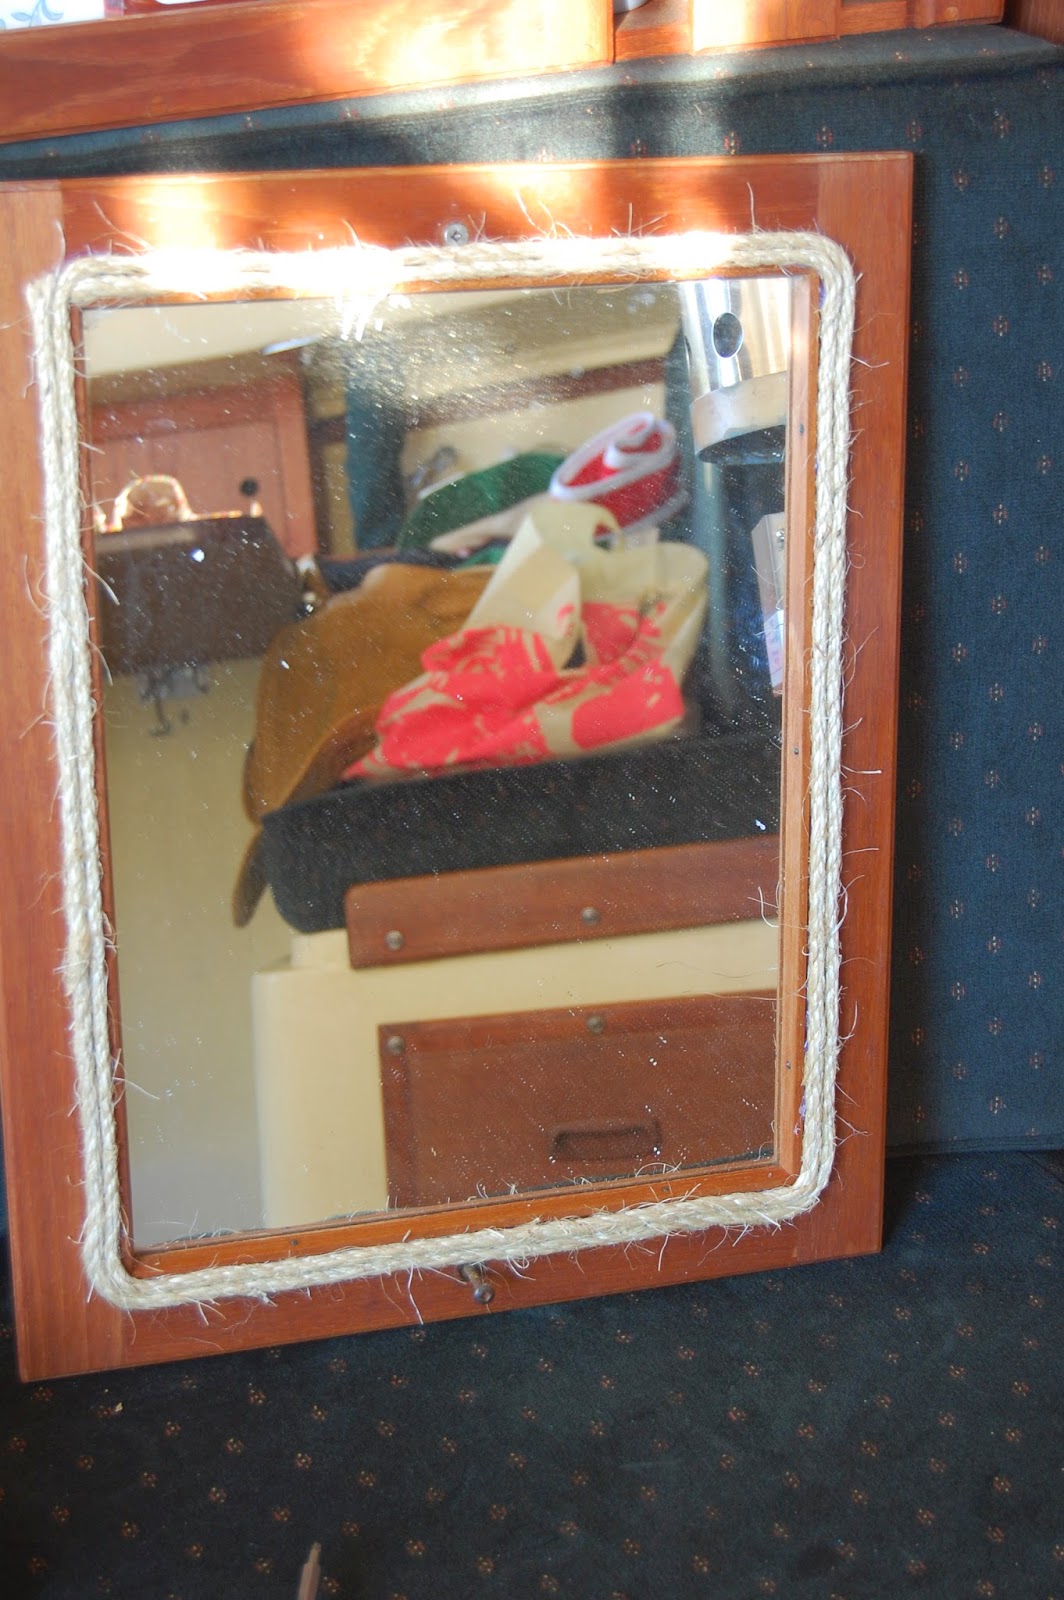
Joss: Boat tiles and Nautical Rope Mirror

I have always loved all things nautical. It worked out that the first person I ever sailed with is now my husband. His parents own a Catalina 27. Its great, we mostly do just two hour afternoon trips in the bay, but we did our first overnight trip not too long ago. Since we have never taken an overnight trip before, we spent very little time inside the boat. Spending time inside motivated us to make some major updates to the boat.
This is a picture from our boat (of another boat)

There is a lot of work to do, among the regular maintenance that is required, but I started with the bathroom tiles because my husbands mom could not stand them.

Materials:

Ugly tiles

Martha Stewart Multi-Surface Paint

Painters tape

Paint foam roller and brush

Mirror

Hot Glue (or stronger glue if your mirror does not have a frame)

Nautical style rope

Sand paper (optional)

Rag and cleaning products

What I did:

Nautical Rope Mirror:

Not much required here. Hot glue rope around the mirror adding small sections of glue at a time and quickly placing the rope overtop (because it dries so quickly). I was only able to wrap three times because of the screws holding the mirror on the wall, but feel free to wrap as much as you want. Finish with the rope at the same place you started. 


Tiles:

Let me first note that this was for a small area with not too much traffic. I would use a different method for larger areas or more traffic. 

I forgot to take a before picture. Here is after one coat
you can see a bit of the dated flower design on the tiles. 
I started with a light sanding the tiles, nothing serious, just to be on the safe side. The product does not require it, but I wanted to be extra safe. I then cleaned the tiles with bathroom cleaner to remove any sanding dust, and other previous gunk that had built up over the past 20 years. Next tape the edges of the tiles to prevent painting the walls. 

Paint the tiles. I did my first coat with a brush to allow for a bit more coverage, and because the roller uses more paint and I only had a small bottle. Let the paint dry for 1-2 hours between coats as per instructions. Paint 1-3 more coats with a foam roller as required. I used white over cream tiles so 3 coats was enough, but I would suspect darker colors might only require 2 coats.  

Remove painter's tape. The paint can take up to a month to completely cure before you want to do any abrasive cleaning.

I tried to hide from the picture, but the bathroom is so tiny!


Friday, March 1, 2013

Beach Fever: Pencil Case

I have always been a lover of everything beach since I was little. I think my beach decorating started after I went hiking on Nootka Island.


View Larger Map

Nootka is a great 4-5 day hike. I did it when I was about 13 with my parents, good friend Maddie, and her parents. The hike was around the coast with some beautiful views, and a real wild life experience. On the second last day of the hike there was an old fisherman shack that was covered in buoys. We tied a few to our packs to take home with us, and thus my beach fever began.

If I remember correctly the first room I started to transformed was my bathroom. I hung the buoys on the walls, and decked out my soap dispenser and tooth brush holder. Since that time my younger brother took that room, and as a result my crafts have become grungy, so I cant take pictures of them.

I did another craft around the same time that was quite similar. I had an old pencil case that had pictures of Winnie-the-Pooh on it. I was defiantly past the Winnie stage, but still like the pencil case, so I decided to transform it.

What I did:

This was a simple craft, and I think it is actually really common right now. I bought a ball of twine from the dollar store,* and pulled out some old liquid school glue from the junk drawer. I put some glue all the way around the pencil case starting at the bottom. I used my finger to spread the glue around, which I soon realized was not the best choice. I would suggest using an old paint brush to spread the glue. Starting at the bottom I tightly tucked the twine into the edge of the pencil case. I went all the way around the box and started working my way up. 

I found that the slower I went, the easier it was. I would add the glue as I went so it wouldn't dry out too early, but if the glue was too runny still, the twine would move around too easily. Going slow allowed the glue to dry just enough, so that when I would make it all the way around, I could place the new row tightly against the last without having it pop out. 

Finally, to finish it off, I added a simple shell to spice it up a little, and put the pens inside.

Photo Credit: David Chung


*I used hemp on my projects for the bathroom. I like how it looks better because there are less fly-a-ways. However, a ball of twine is about $1 and a ball of hemp is about $10. I thought the fly-a-ways were a great compromise.