Showing posts with label Bathroom Storage. Show all posts

Tuesday, September 2, 2014

Joss: Boat tiles and Nautical Rope Mirror

I have always loved all things nautical. It worked out that the first person I ever sailed with is now my husband. His parents own a Catalina 27. Its great, we mostly do just two hour afternoon trips in the bay, but we did our first overnight trip not too long ago. Since we have never taken an overnight trip before, we spent very little time inside the boat. Spending time inside motivated us to make some major updates to the boat.
This is a picture from our boat (of another boat)

There is a lot of work to do, among the regular maintenance that is required, but I started with the bathroom tiles because my husbands mom could not stand them.

Materials:

Ugly tiles

Martha Stewart Multi-Surface Paint

Painters tape

Paint foam roller and brush

Mirror

Hot Glue (or stronger glue if your mirror does not have a frame)

Nautical style rope

Sand paper (optional)

Rag and cleaning products

What I did:

Nautical Rope Mirror:

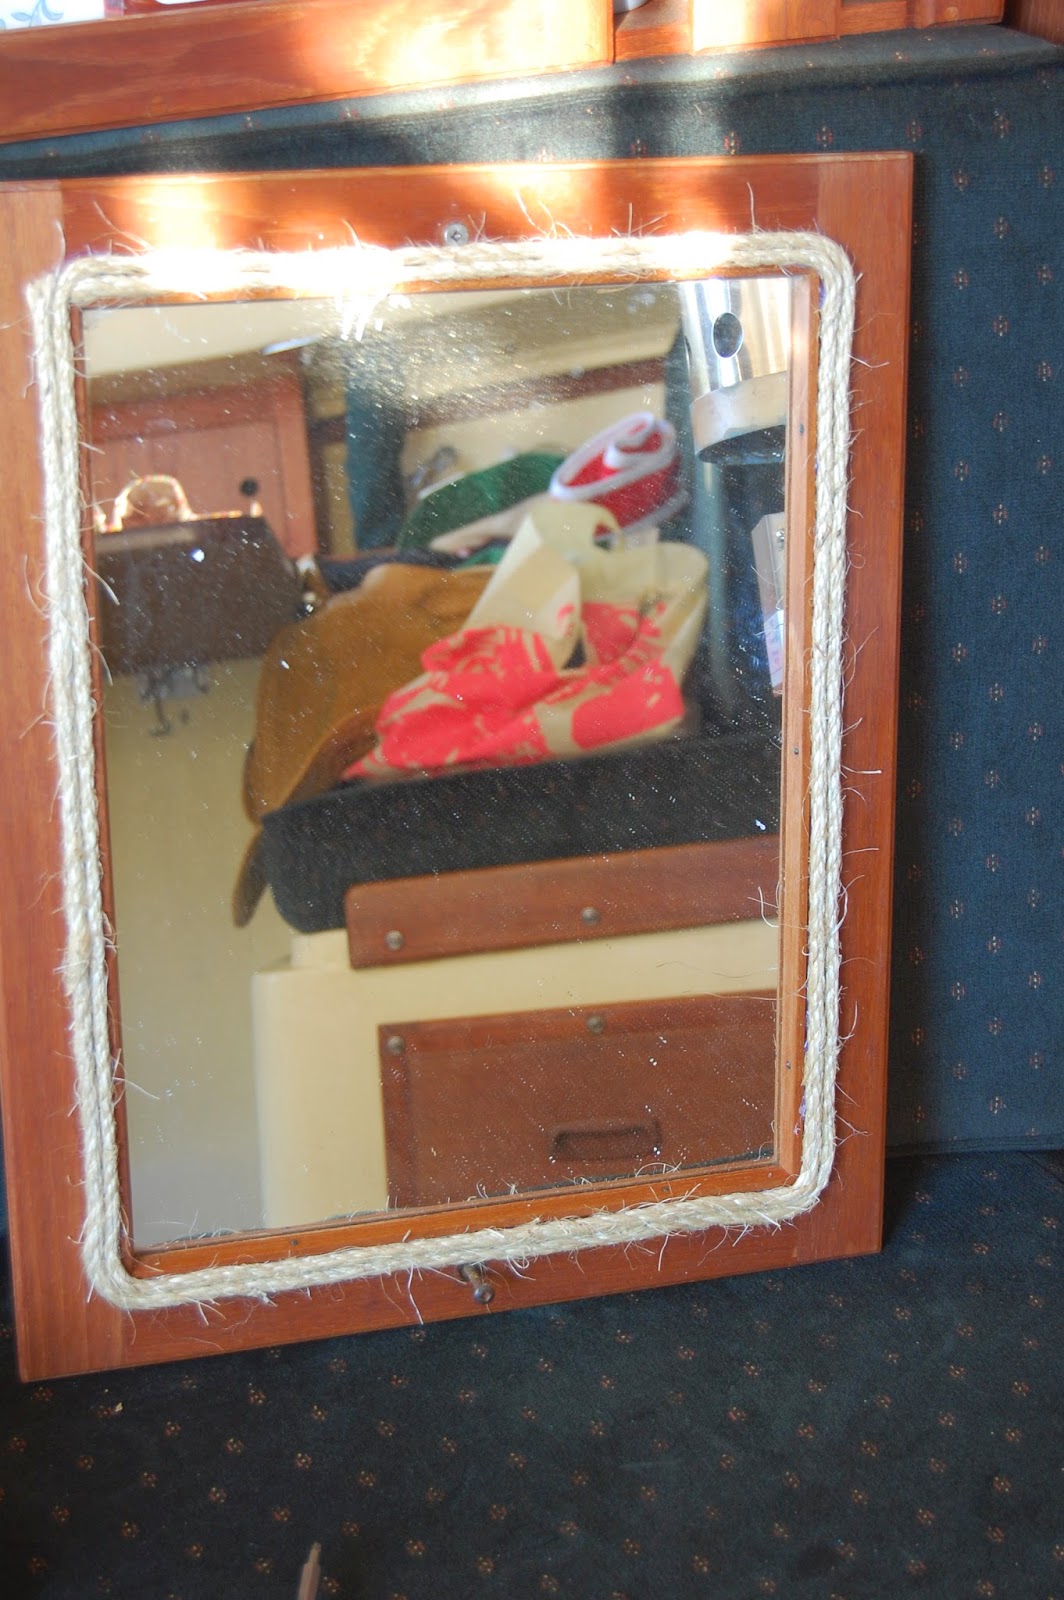
Not much required here. Hot glue rope around the mirror adding small sections of glue at a time and quickly placing the rope overtop (because it dries so quickly). I was only able to wrap three times because of the screws holding the mirror on the wall, but feel free to wrap as much as you want. Finish with the rope at the same place you started. 


Tiles:

Let me first note that this was for a small area with not too much traffic. I would use a different method for larger areas or more traffic. 

I forgot to take a before picture. Here is after one coat
you can see a bit of the dated flower design on the tiles. 
I started with a light sanding the tiles, nothing serious, just to be on the safe side. The product does not require it, but I wanted to be extra safe. I then cleaned the tiles with bathroom cleaner to remove any sanding dust, and other previous gunk that had built up over the past 20 years. Next tape the edges of the tiles to prevent painting the walls. 

Paint the tiles. I did my first coat with a brush to allow for a bit more coverage, and because the roller uses more paint and I only had a small bottle. Let the paint dry for 1-2 hours between coats as per instructions. Paint 1-3 more coats with a foam roller as required. I used white over cream tiles so 3 coats was enough, but I would suspect darker colors might only require 2 coats.  

Remove painter's tape. The paint can take up to a month to completely cure before you want to do any abrasive cleaning.

I tried to hide from the picture, but the bathroom is so tiny!


Monday, March 25, 2013

Medicine Cabinet: Long over due

I went to this garage sale because it was a fundraiser for some friends going to Seeds of Hope, an orphanage in Zambia. Since I had been to Seeds of Hope with them before, I had a soft spot for the ministry, and was defiantly going to check out their garage sale. Also, I just love garage sales.

It was a huge garage sale that took up our entire church gym. Being that I lived with my parents at the time, and was in university, not only did I not have money to spend, but I didn't have a lot of space to put things. I saw this beat-up medicine cabinet that was missing a mirror, and knew it had potential. I bought it for a very discounted price of $1. I was busy in school at the time, and didn't have a specific plan for it so I put it in my parents garage for the time being. 

Two years later my Mom asked if she could throw it out because I wasn't using it. I obviously protested! I was going to fix it up immediately! Again a year or two later when we were having a garage sale at my parents house she asked if we could sell it. Though I successfully convinced her that I would fix it up, I knew I needed to get on it soon. 

Six months later, it was summer, I was done school, and I was ready to finish up (or in this case start) some of my old projects. 

What I did:

Since the Medicine Cabinet was small I decided to sand the whole thing by hand. It was tough, but really only took about hour. I made sure to sand some areas alot more than others so that it would have the worn look. Around the handle and on the corners mostly. 

There was a lot of nice wood grain on the sides so I didn't want to paint over that. Again I wanted it to match my other furniture in a way, but I didn't want it to blend in. I did a nice dark varnish as the base coat and then added a bit of white paint in the second coat, as I had done before, to give it a beach look.

I found a spare door nob and put that on in place of the broken one that was there.  Since I had no intention of putting it in my bathroom and using it for medicine I didn't feel a need to put a new mirror on the front. I wanted to make it a chalk board. I love being organized and writing lists, so chalk boards appeal to me. 

The company I work for owns the building, and one of out tenants is a Tile company. I went over there with a plastic container and asked if they had some fine tile grout left over. They did and filled up my container for free! To make the chalk paint I mixed 2 TBS fine tile grout with one cup of paint. I painted onto the empty space and let it dry.

I am finished. I have it mounted on my wall, and am very pleased with the finished product.